
There is something truly special about the sound of moving water in a garden, it just changes the whole vibe of the place. We’ve been helping folks across Farnham and the surrounding areas for years now and one thing is for sure: everyone wants that peaceful water feature but nobody wants to spend every Saturday scrubbing algae or fishing out soggy leaves. If you are looking to add a pond to your outdoor space, you’ve come to the right place because we’ve figured out the secrets to making them look stunning without the headache of constant repairs.
Building a pond isn’t just about digging a hole and filling it with a hose, it’s about creating a little ecosystem that looks after itself. When we handle creating beautiful ponds in Farnham with Heat Eco, we focus on the "build it right once" philosophy. If you get the foundation wrong, you’ll be dealing with leaks and murky water for years, and who wants a nasty pond in there garden these days? Not you, that’s for sure.
Step 1: Choosing the Perfect Spot and Planning the Design
The biggest mistake people make happens before they even pick up a shovel. They see a corner of the garden that isn't being used and think, "I'll put the pond there." Often, that’s the worst spot. If it’s under a big oak tree, you’re going to be fighting a losing battle with leaves every autumn. If it’s in the lowest part of the garden where all the rainwater drains, you’ll end up with a pond full of mud and lawn chemicals every time we get a typical British downpour.
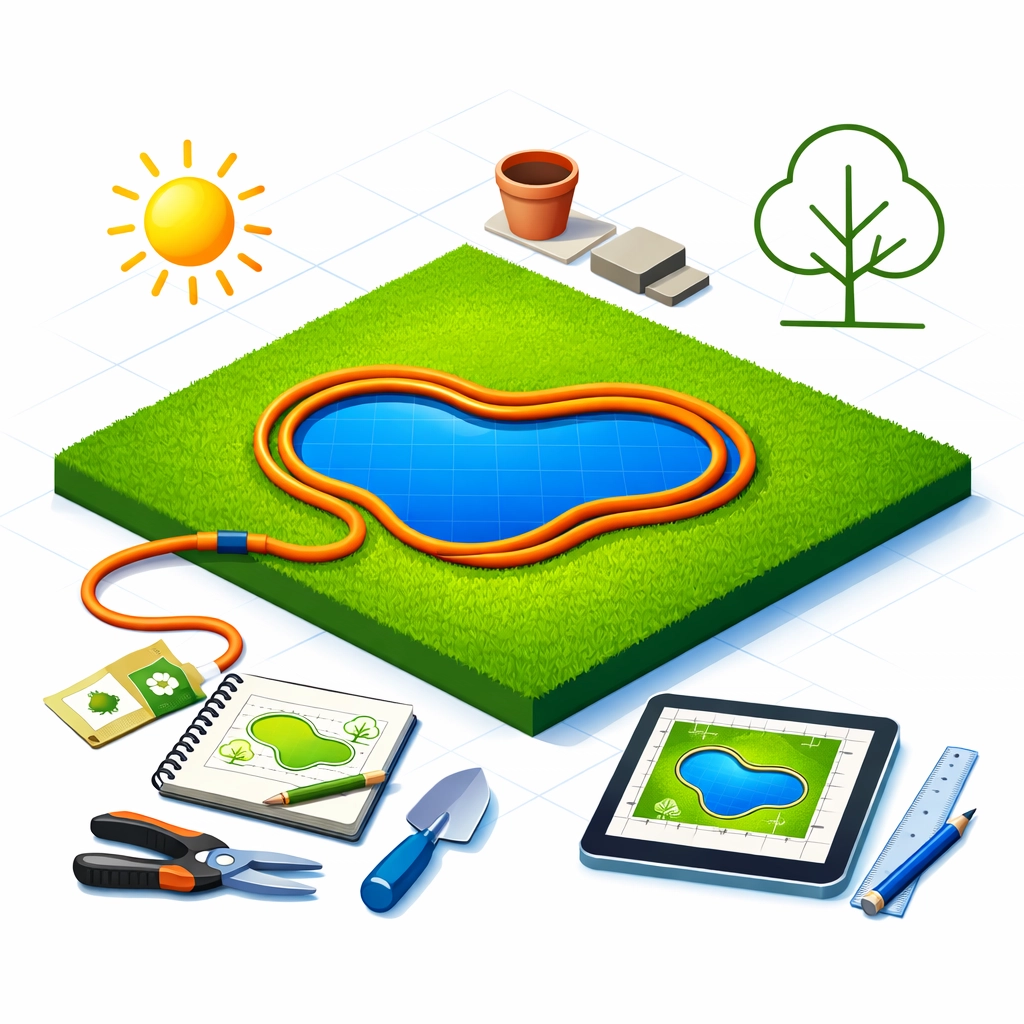
You want a spot that gets a decent amount of sunlight: maybe 4 to 6 hours a day: to keep the plants happy, but not so much that it turns into a bowl of pea soup from the algae. We always suggest using a garden hose or a long rope to lay out the shape on the grass first. Walk around it. See how it looks from your kitchen window or your patio. You want to transform your garden for summer, so make sure the pond is a focal point you can actually see and enjoy.
Step 2: Don't Skimp on the Materials
We see it all the time: people try to save a few quid by using thin plastic liners or, heaven forbid, just a heavy-duty tarp. Trust me, the local foxes and even some sharp roots will make short work of those. If you want a low-maintenance pond, you need to invest in a 45-mil-thick EPDM rubber liner. It’s flexible, it lasts for decades, and it handles the frost around here without cracking.
Underneath that liner, you absolutely need a non-woven geotextile underlayment. It’s like a protective blanket for your pond. It stops rocks and roots from poking through over time. Think of it like the insulation we put in houses; you don't see it, but it makes everything work better.
You also need to think about the "guts" of the pond. A good mechanical filter and a biological filter are non-negotiable. The mechanical filter catches the big stuff: twigs, leaves, the odd tennis ball: while the biological filter is where the good bacteria live. These little guys eat the waste and keep the water clear. It’s a similar setup to what we use for swimming pool maintenance, just on a different scale.
Step 3: The Big Dig and Safety Checks
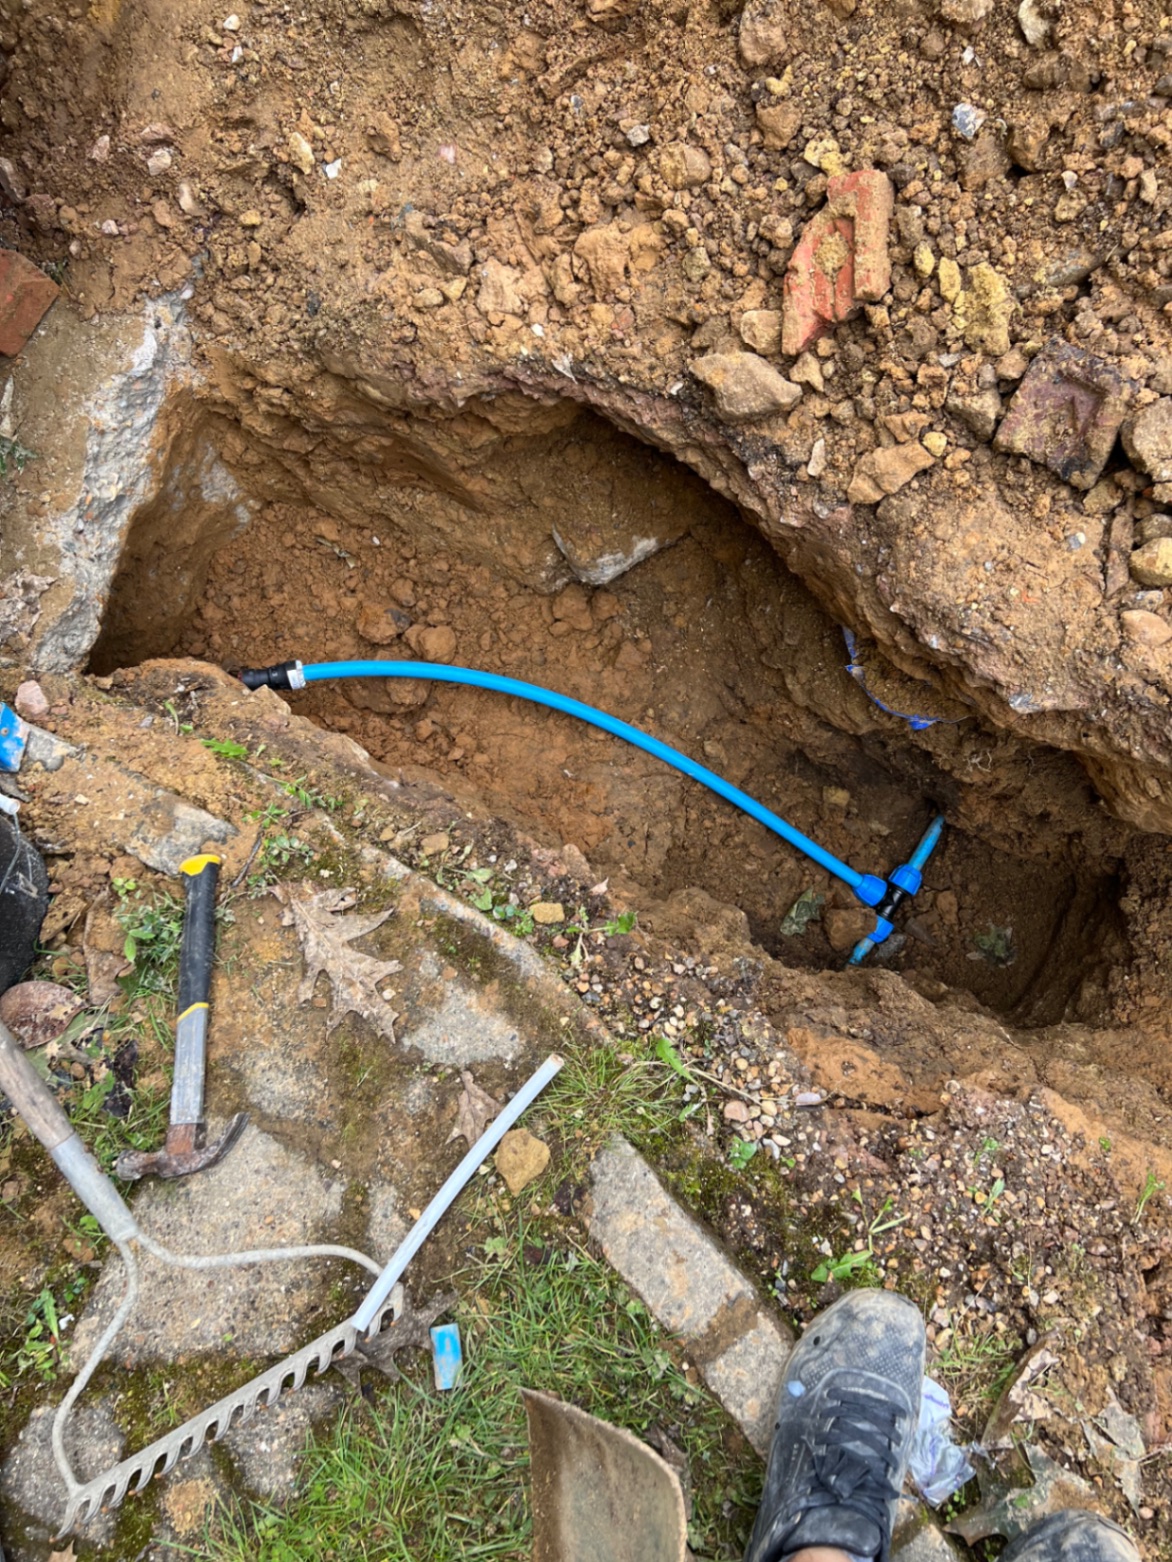
Now comes the hard work. When you start digging, you have to be careful. We’ve seen DIY projects go sideways because someone accidentally put a spade through an old clay pipe or a water line. Before you go deep, it’s worth knowing what’s under your feet. We often use comprehensive drain inspection services when we are working on larger garden projects just to make sure we aren’t about to cause a massive leak.
As you dig, you want to create shelves. Don't just dig a steep-sided bowl. You want a shallow shelf about 8 inches deep for your marginal plants, and then a deeper section in the middle. This deeper part is vital if you want fish, as it gives them a place to go when the top of the pond freezes over in the winter. Make sure the edges are level! There is nothing worse than filling a pond and realizing one side is three inches lower than the other, leaving a big ugly strip of exposed rubber liner.
Step 4: Installing the Liner and the Pumping System
Once the hole is prepped and you’ve cleared out every single sharp stone, lay down your underlayment and then the EPDM liner. Don't pull it tight; let it settle into the corners. As the water fills up, the weight will push the liner into place. If it’s too tight, it might tear.
This is also the time to install your skimmer and your pump. We like to put the skimmer at one end and the waterfall or return at the other. This creates a "river" effect where the water is constantly moving. Stagnant water is the enemy of a low-maintenance pond; it attracts mosquitoes and grows slime. You want that water circulating 24/7.
The pumps we use are energy-efficient because we know how much electricity prices are on everyone's mind. It's the same logic we use when we talk to clients about swimming pool pumps: you want maximum flow for minimum "go" (in terms of the meter spinning). Once the plumbing is in, you can start hide the edges with rocks and gravel to make it look like it’s always been there.
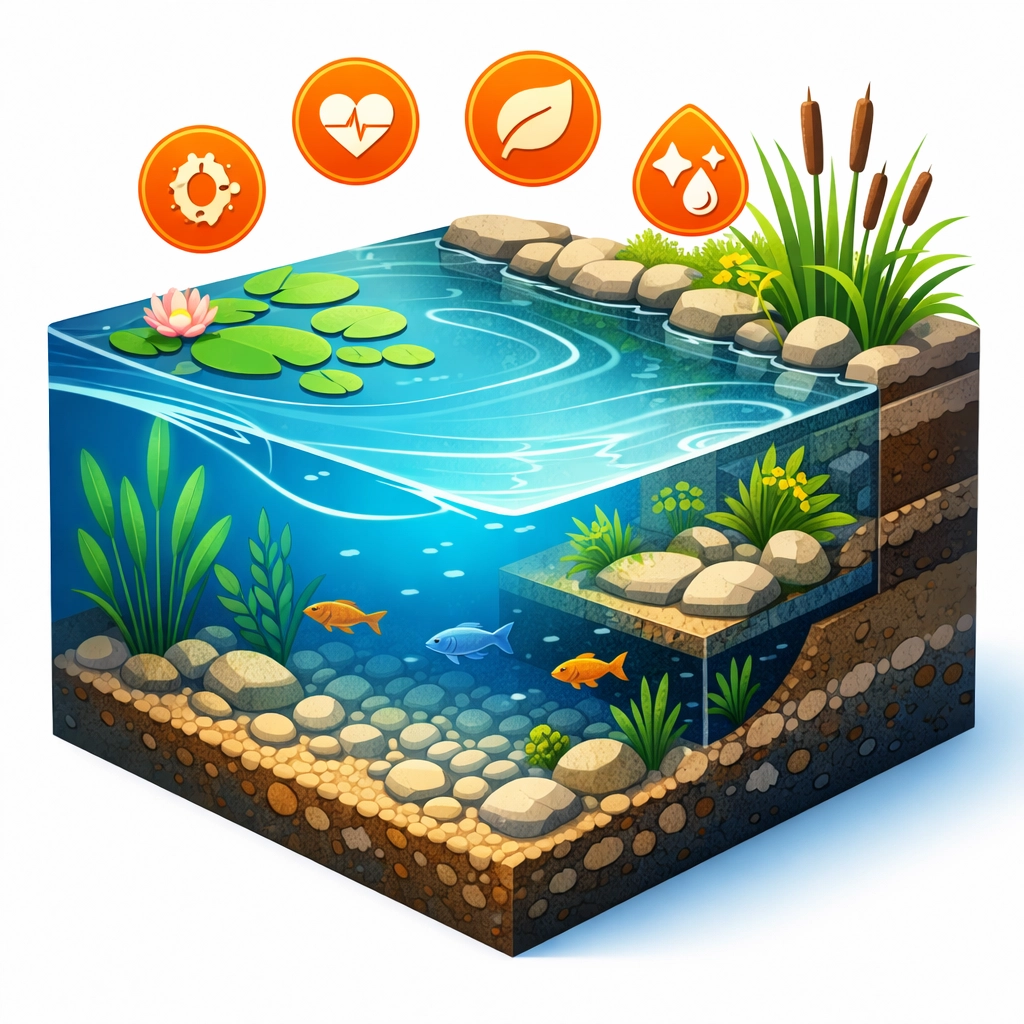
Step 5: Establishing the Ecosystem (The Secret to No Cleaning)
The final step is the most fun, but it’s also where you have to be patient. To keep your maintenance low, you need a balanced ecosystem. This means:
- Rocks and Gravel: Covering the bottom with smooth gravel gives a massive surface area for those "good" bacteria to grow.
- Plants: You need a mix. Oxygenators that live underwater, lilies that shade the surface (stopping the sun from feeding the algae), and marginals for the edges.
- Bacteria: We usually add a "starter" treatment of natural bacteria to jump-start the cycle.
- Fish (Optional): If you want fish, don't overstock. Too many fish means too much waste, which means more cleaning for you.
When everything is balanced, the water stays crystal clear on its own. You might have to trim a plant now and then or empty the skimmer basket, but that’s about it. We’ve got some great tips for keeping your garden pond healthy if you want to dive deeper into the biology of it all.
Why Professional Help Makes a Difference
Look, we love a good DIY project, but a pond is a heavy bit of engineering. A medium-sized pond can hold thousands of litres of water. If that liner fails or the ground shifts because it wasn't compacted properly, you’ve got a massive mess on your hands. Not to mention the plumbing! We deal with water leak repair services every day, and a leaking pond is a nightmare to find once all the rocks are in place.
At Heat Eco Building Services, we bring the same precision to our garden projects as we do to a boiler install or a high-end bathroom refit. We make sure the levels are perfect, the drainage is handled, and the equipment is top-tier. We’ve seen people spend a fortune on "cheap" ponds only to have to call us in a year later to dig the whole thing up and start again.
Whether you are looking for a small wildlife pond to bring some frogs into the garden or a large feature with a waterfall that you can hear from your bedroom, we can help design something that fits your space and your lifestyle. We’re all about making life easier for our customers in Farnham.

If you’re thinking about taking the plunge (pun intended), give us a shout. We can walk through your garden, look at the levels, and figure out the best way to get you that peaceful water feature without the "ponds-work" usually associated with it. After all, your garden should be a place to relax, not another chore on your to-do list. The results speak for themselves when you see a perfectly clear pond reflecting a Surrey sunset( it’s pure magic.)